Painting Non-Metallic Silver
December 15, 2014 by ExiledAT

Welcome everyone to Non-Metallic Metal week! I’m really excited to bring you this tutorial on Non-Metallic Silver!
This tutorial is just a small sample of the ideas I will be teaching in my classes at the
Las Vegas Open in February, so make sure you reserve your spot as space is limited.
This is a simplified version that will result in great looking table-top quality Non-Metallic Silver, it is heavily inspired by Cyril Abati and the Rackham painters.
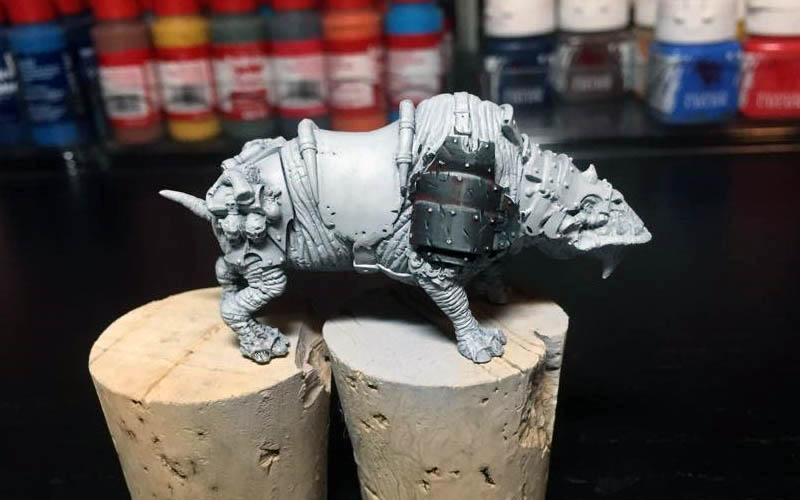
I have primed my figure in light grey using Mr. Surfacer 1200. I use this to prime most of my display pieces as it has great coverage and holds the paint very well.
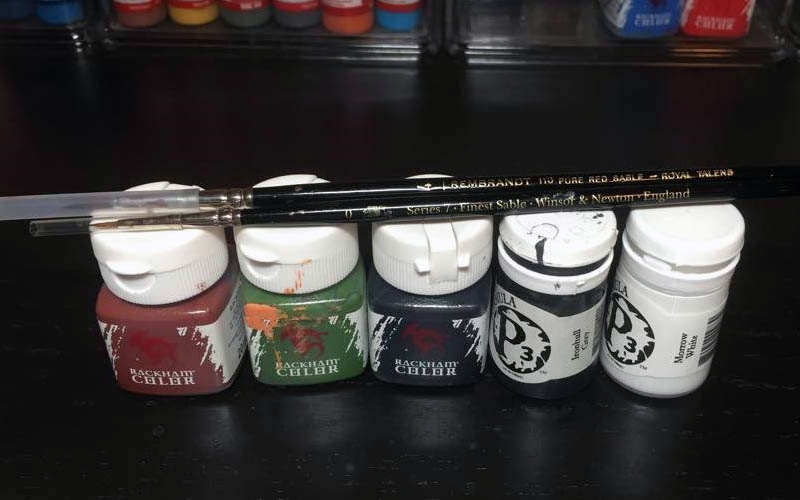
The paints I am using today are:
- Privateer Press Ironhull Grey (PPIHG)
- Privateer Press Morrow White (PPMW)
- Rackham Colour Black (RCB)
- Rackham Colour Brown (RCBr)
- Rackham Colour Green (RCG)
The first layer of paint is applied in a 60/40 mix of Rackham Black and Ironhull Grey.
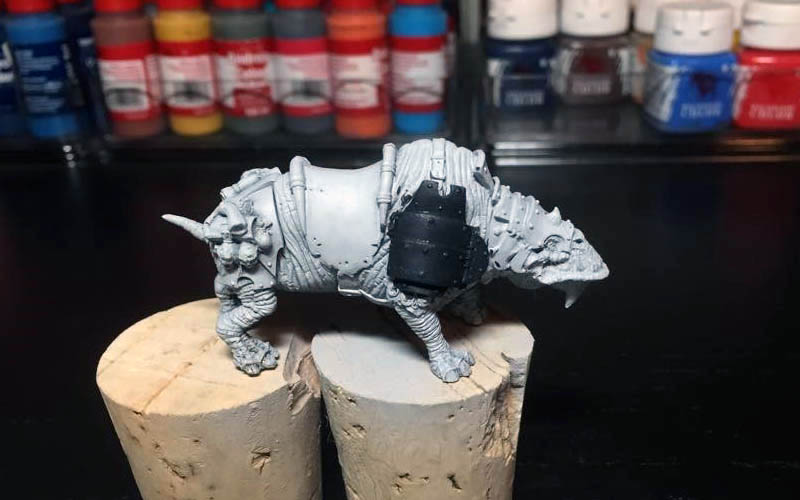
Once my basecoat has dried, I begin mixing in more Ironhull Grey into the Black and begin sketching my highlights.
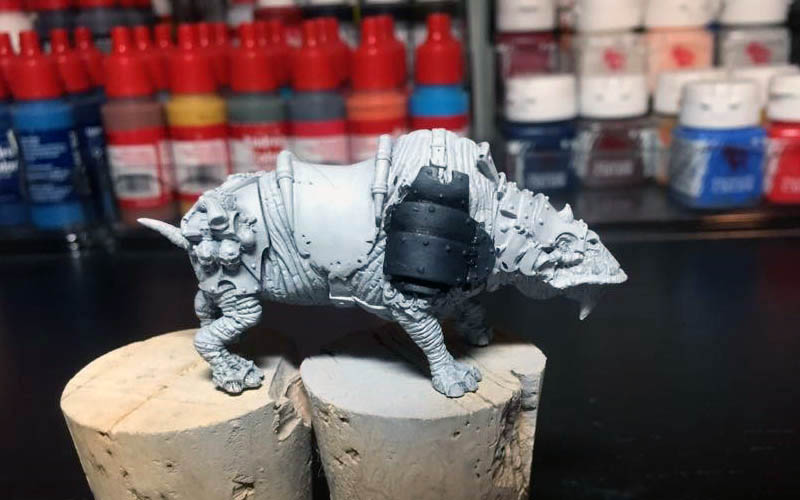
At this stage the blending can be rough as I will work with my mid-tones to blend the layers. I also sketch my reflection light along the panels using almost pure Ironhull grey.
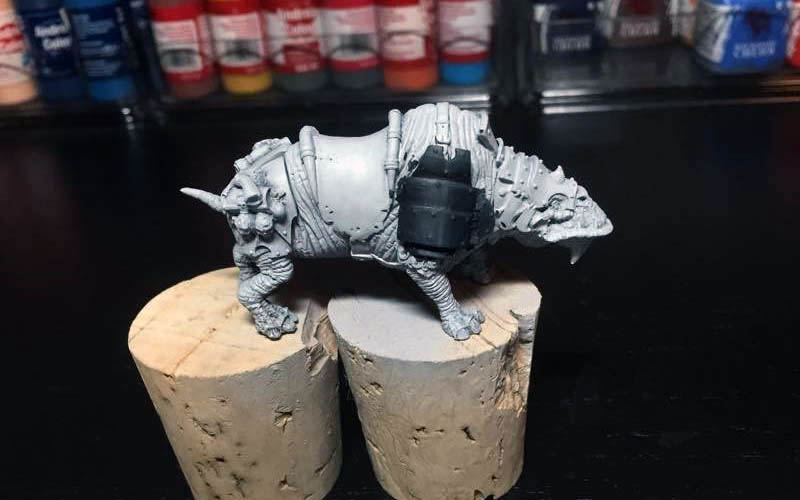
I continue to build up my lights with Ironhull Grey and begin mixing in Morrow White. I increase the intensity of my reflections using Morrow White. This is the final stage before I begin modulating the colours and applying mid-tones to smooth the blending.
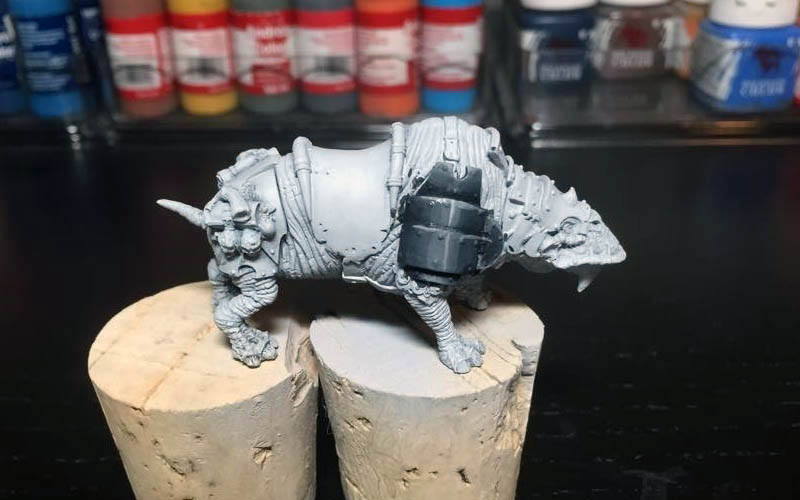
I apply several glazes of my mid-tones to smooth the transitions and increase the highlights. The following steps continue the NMM in the Rackham style of painting and are not necessary. If you choose to stop here then you want to be sure your blends are smoothed out and your reflections are at pure white.
The next step is to glaze my Green paint into the hightlights. I also take this time to add more Black into the shadows.
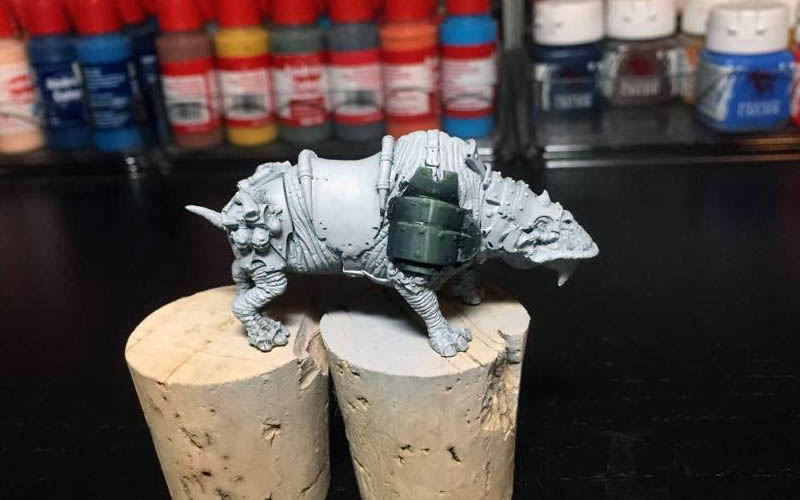
Once the Green is dry I begin glazing Rackham Brown into the shadows and around the rivets. I will also glaze a small amount into the darkest shadows to add some interest.
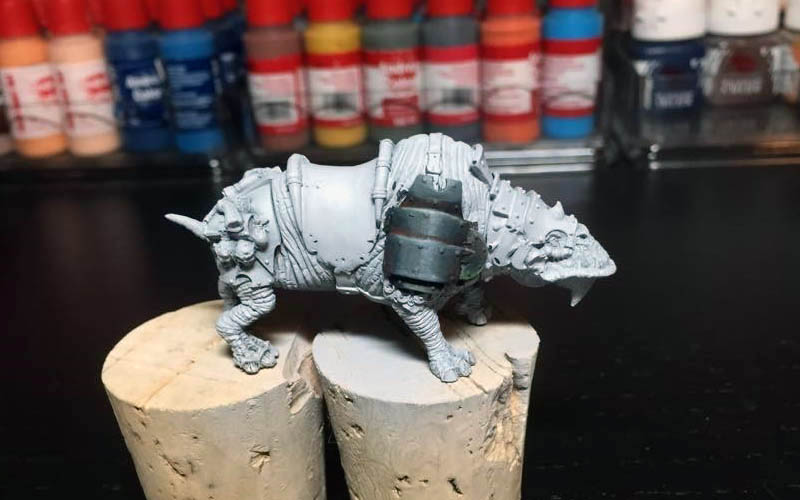
I continue to smooth the transitions and pick out details. Using White I pick the rivets out and add stronger lights.
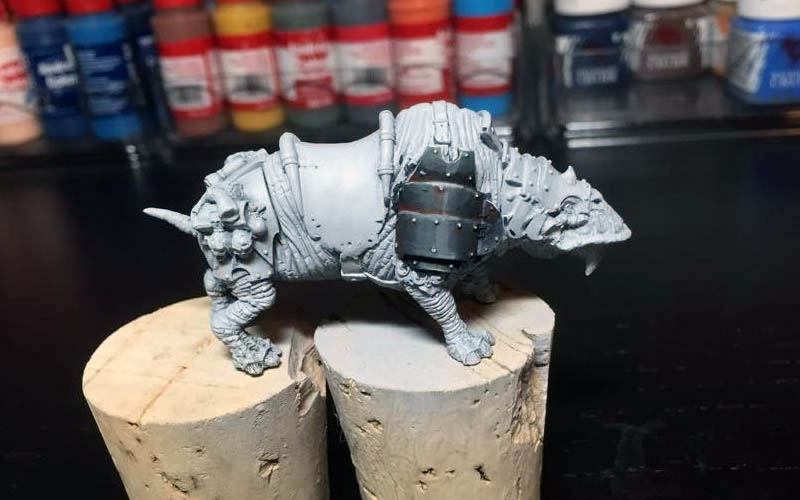
Once I am satisfied with the blends, I make the final adjustments with the Green, Brown, and White. For my figures I prefer the Battle Damaged look so I apply scratches and chips as well as additional rust.
The final product looks great on the Table-Top and creates a base to create some truly great looking Non-Metallic Metals. My class at the Las Vegas Open will cover more in depth techniques to paint great looking Non-Metallic Metals.
Now it is time for you to go out and paint some awesome miniatures and customize my technique to your own style!

 Welcome everyone to Non-Metallic Metal week! I’m really excited to bring you this tutorial on Non-Metallic Silver!
  The paints I am using today are:


