
Discussions in Work In Progress
| |
Listing 21 to 30 of 33 Replies | |
| neojarlaxe |  RE: Paint threat December 2013: Ork Warbikers RE: Paint threat December 2013: Ork Warbikers |
Member Since: June 23, 2013 RK: 1 MP: 0 | Tuesday December 17, 2013 2:38 AM Nice and solid work on that ork bikes. |
| TheGentleman81 |  RE: Paint threat December 2013: Ork Warbikers RE: Paint threat December 2013: Ork Warbikers |
Member Since: December 8, 2013 RK: 1 MP: 0 | Tuesday December 17, 2013 10:53 PM Still some details and assembly to do. I'm still really stuck on ideas for bases though. Regardless, I'm pretty happy with how they're turning out. I used the dual brush technique again, but with a bigger change in colour for my paint. Seemed to work well and quickly.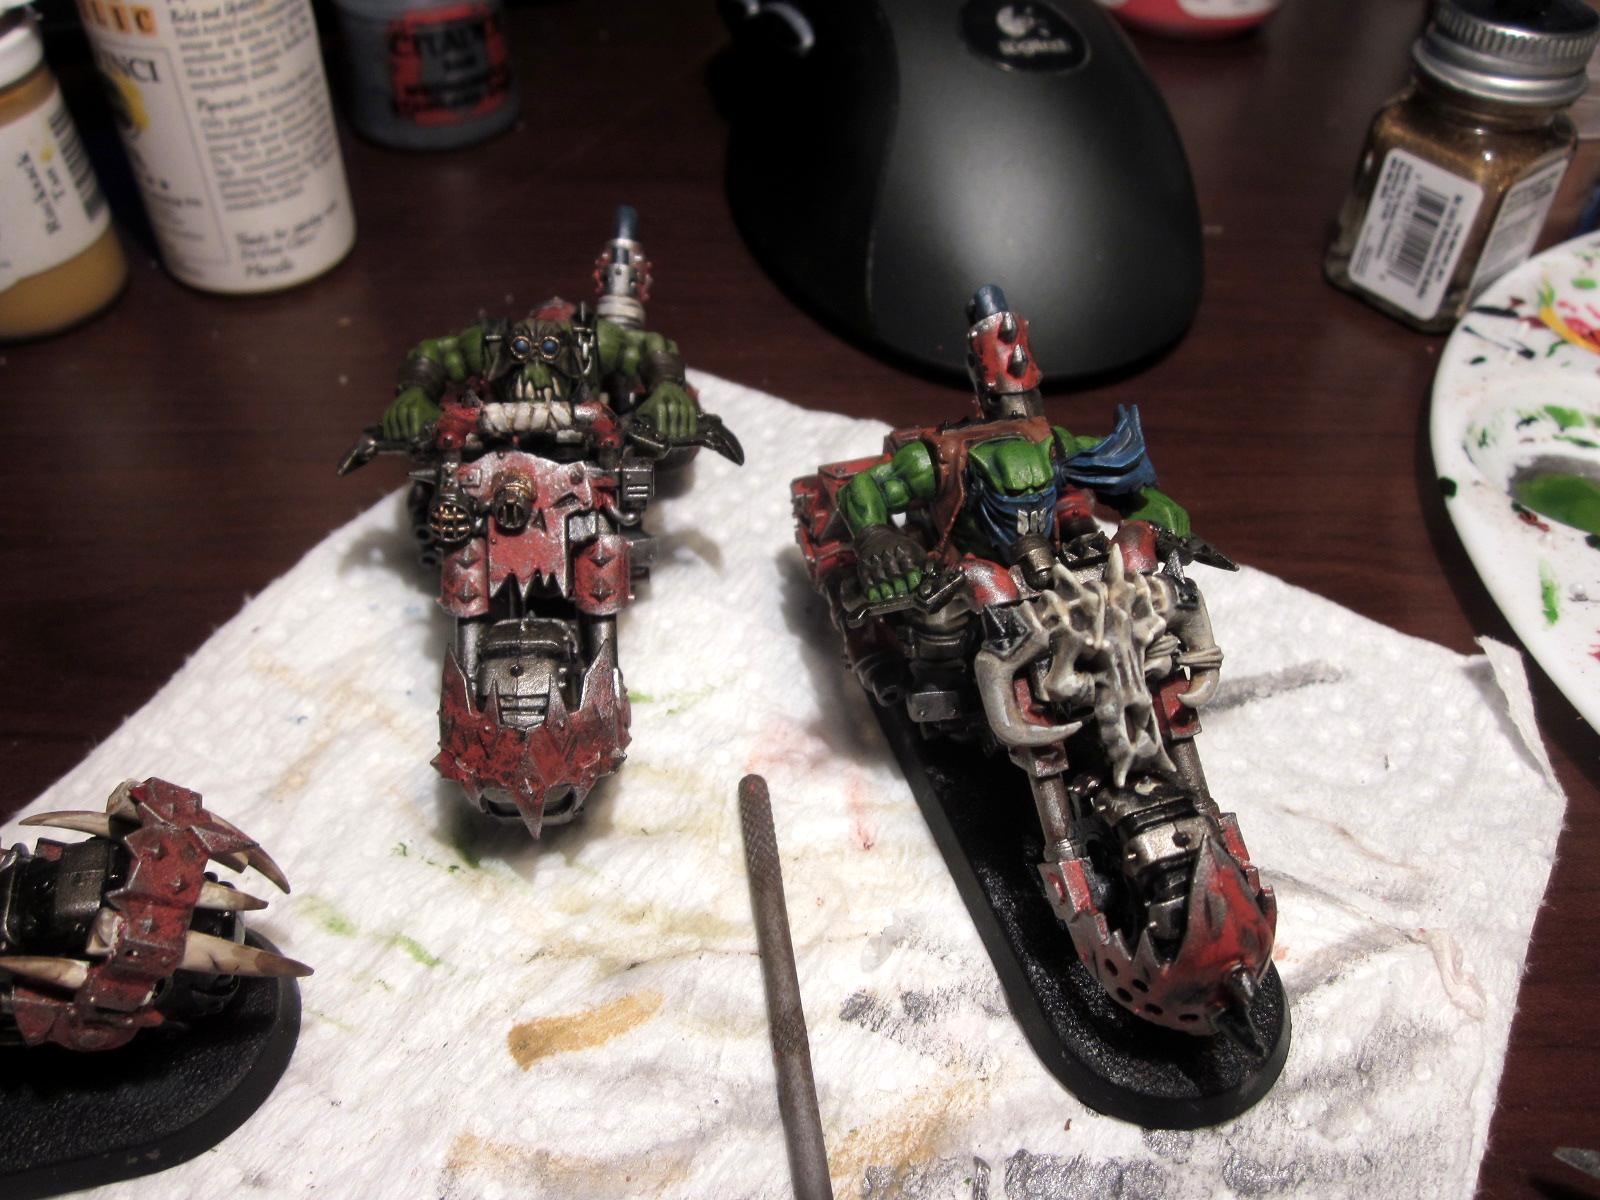 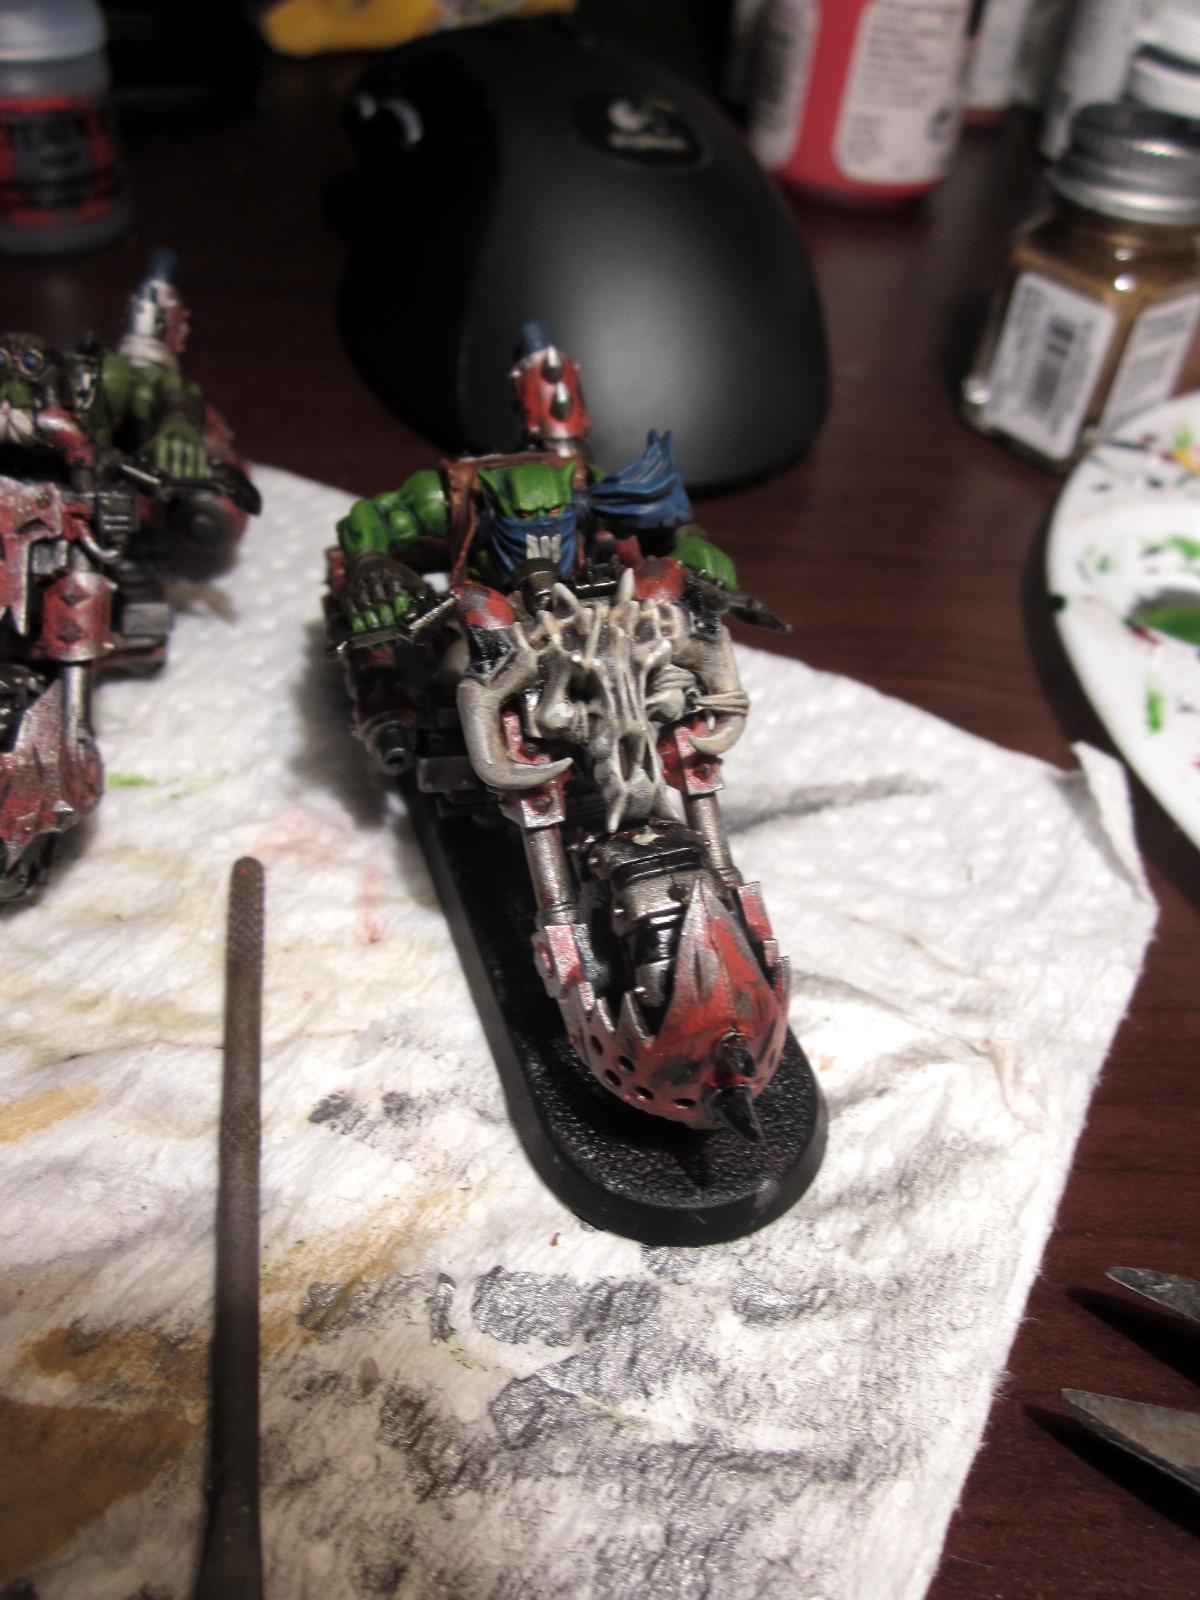 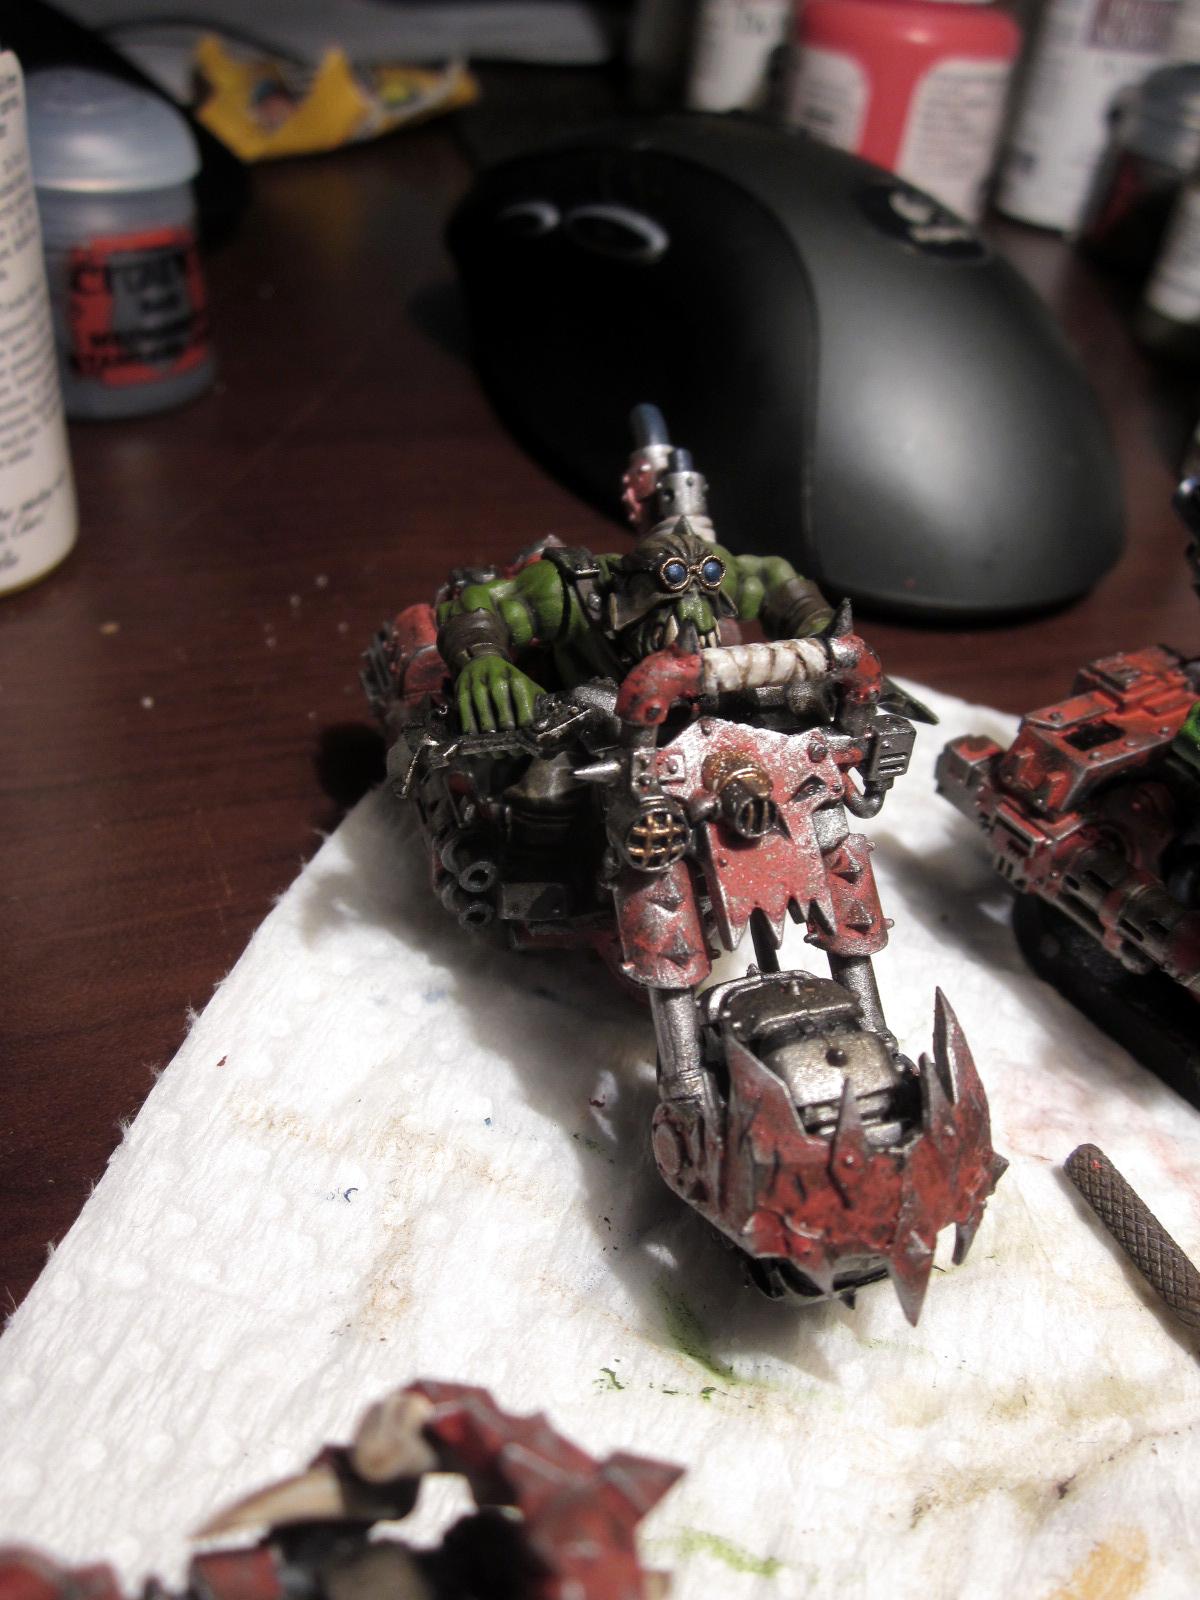 I also tried to make it look like light was reflecting off the lenses of the 2nd biker. I think it turned out rather well. [[Edited by TheGentleman81 on Tuesday December 17, 2013 10:55 PM]] |
| TheGentleman81 |  RE: Paint threat December 2013: Ork Warbikers RE: Paint threat December 2013: Ork Warbikers |
Member Since: December 8, 2013 RK: 1 MP: 0 | Thursday December 19, 2013 10:02 PM Skin highlights done. Rider is glued in place. Looks like I made the amateur mistake of not positioning his arms on his torso ahead of painting. Now there's a tiny gap. Guess I've learned that lesson the hard way.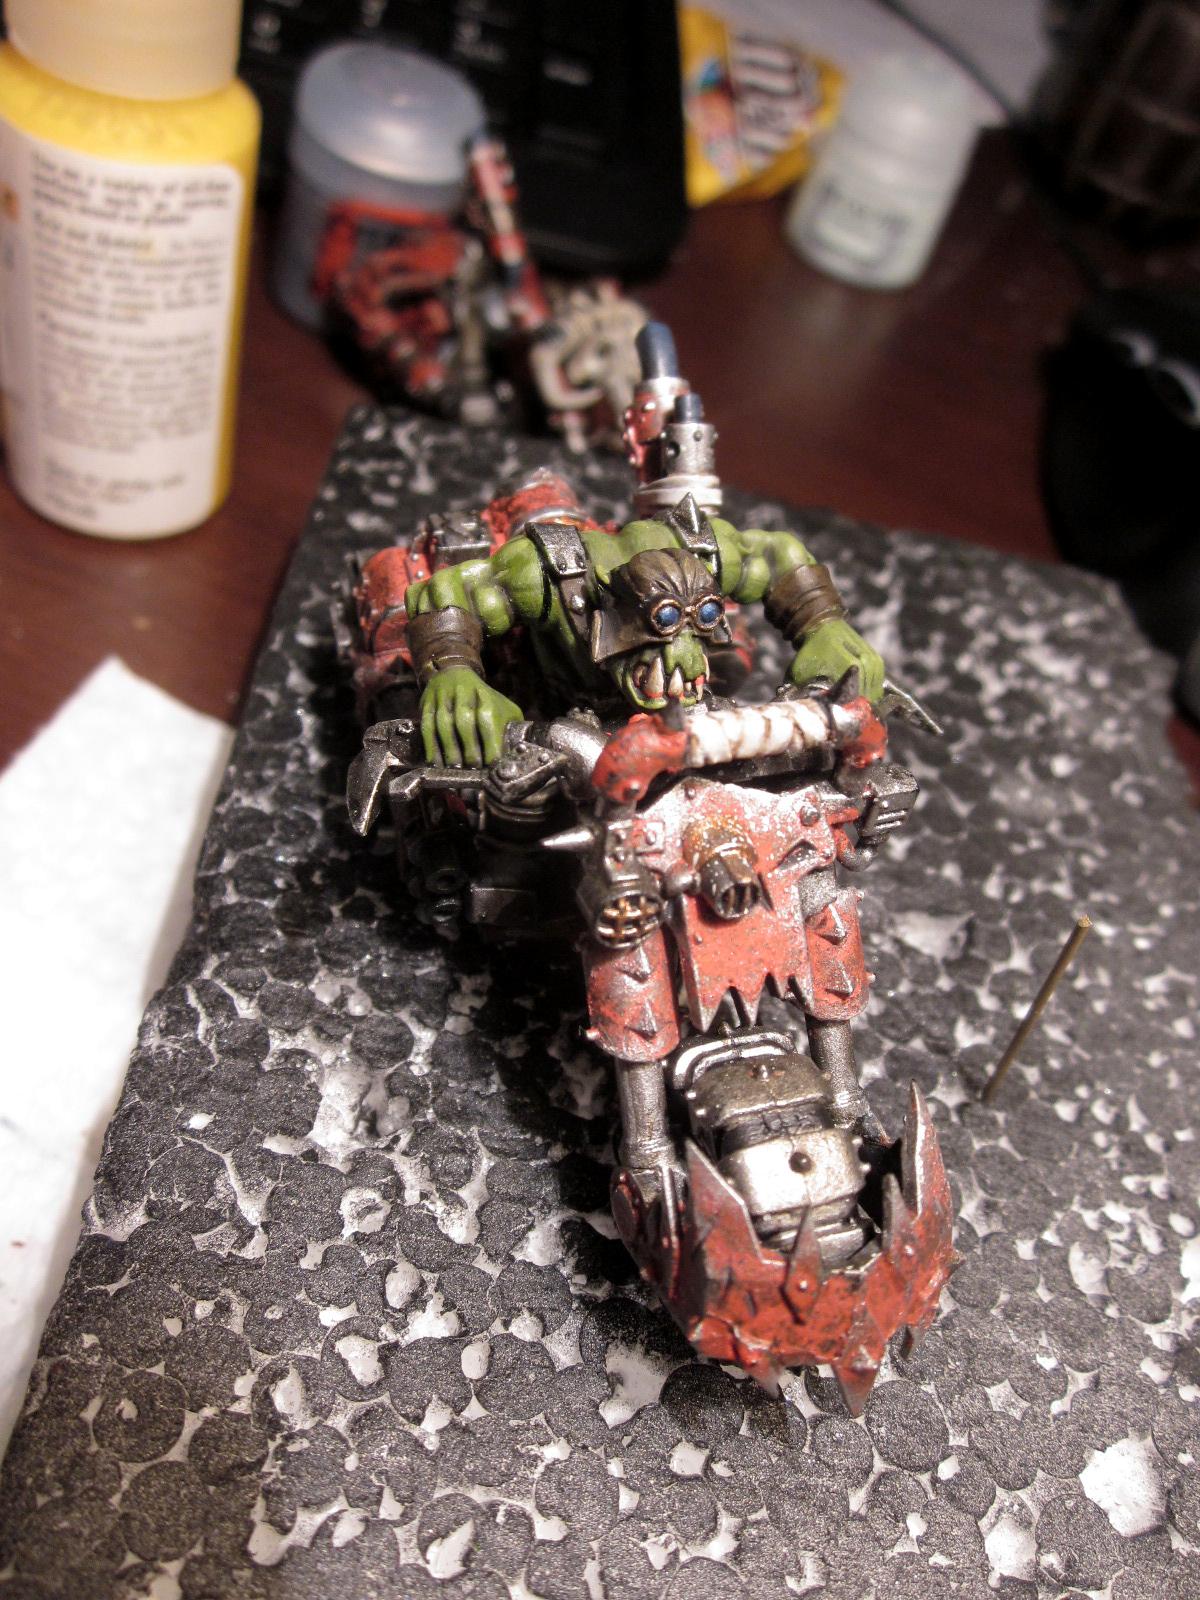 |
| TheGentleman81 |  RE: Paint threat December 2013: Ork Warbikers RE: Paint threat December 2013: Ork Warbikers |
Member Since: December 8, 2013 RK: 1 MP: 0 | Monday December 23, 2013 10:58 PM All the bikes are together! Some details to complete... no worries. The bases however... yeah.So I thought I might try going with a badly worn road surface (think fallout 3). It didn't turn out... terrible... 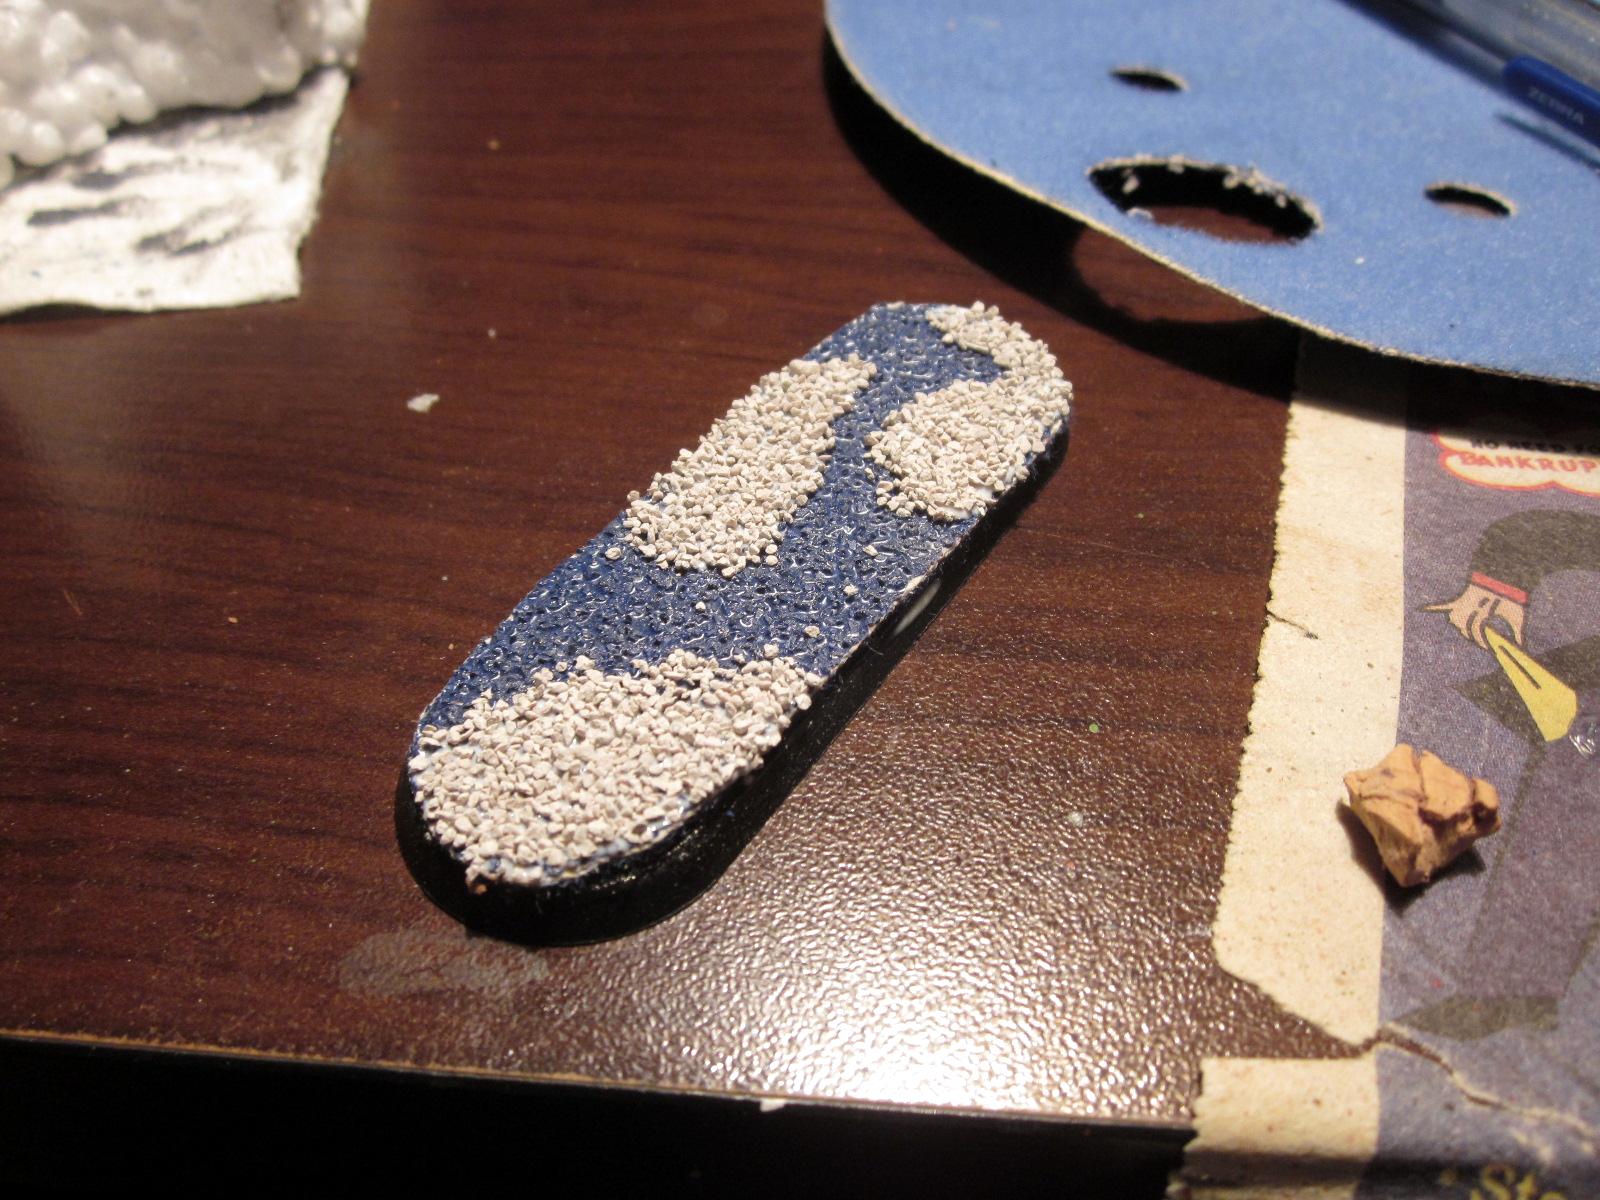 Started out with sandpaper, then some glue and ballast. 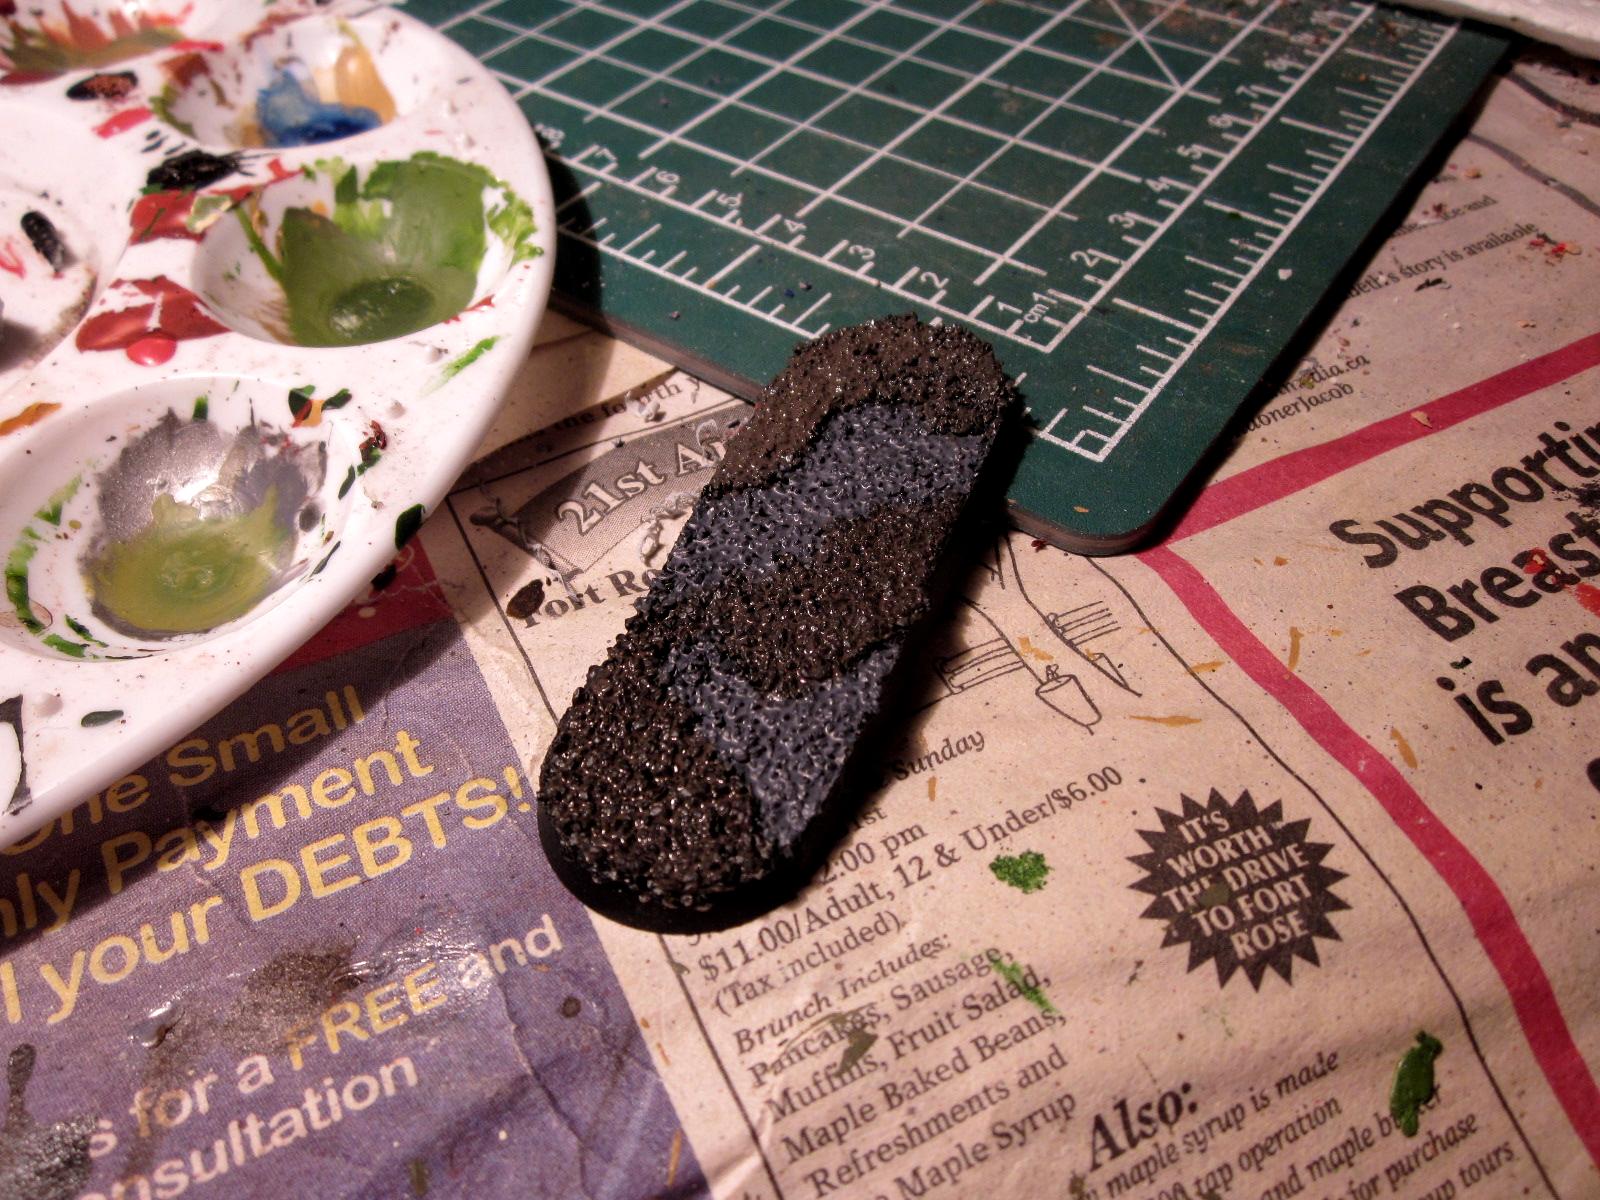 Lesson learned - sandpaper with fabric on the back (for Velcro attaching to tools) doesn't stick. Tear off the fabric on the back! Worked second time... then I managed to paint the wrong base colours on the wrong parts. Clearly the elevated part where the ballast is should be the road. Good job self! 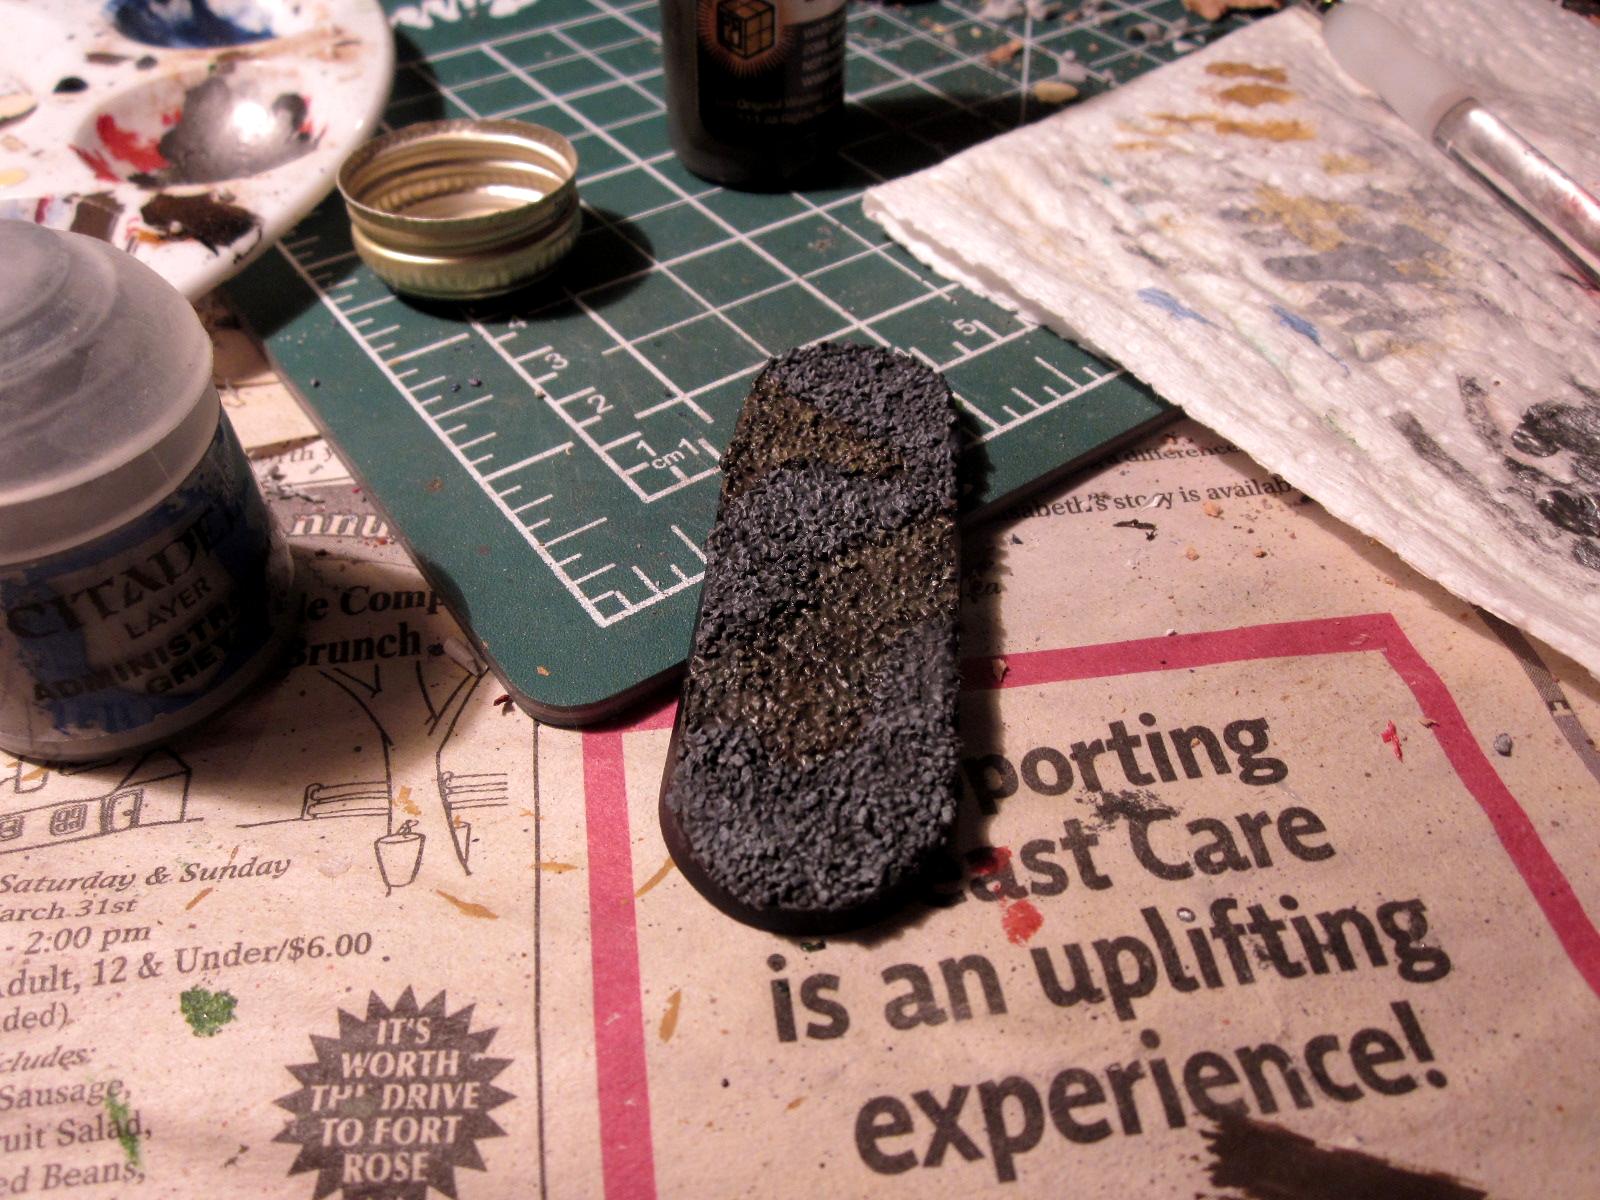 Fixed the colours and tossed in some inks and some drybrushing. Seems to be at an impressiveness level of about 'shoulder shrug'. What to do, what to do? 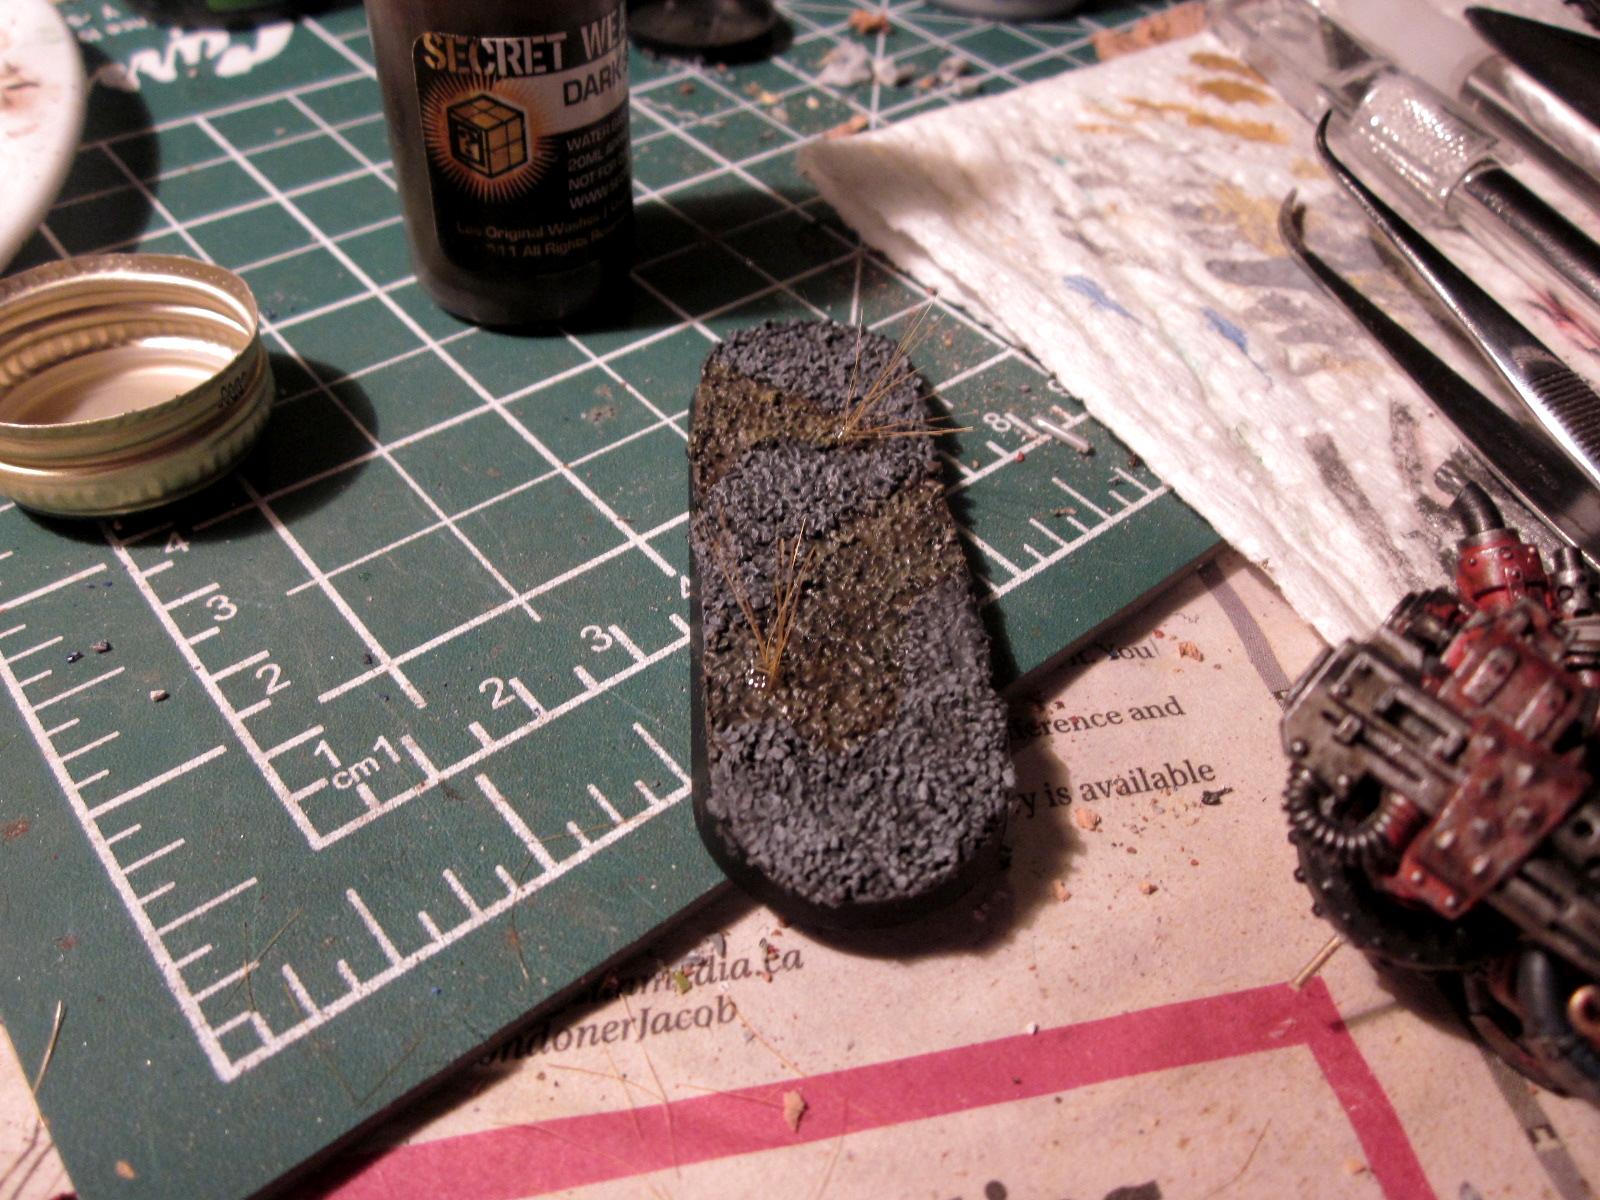 Add grasses! Albeit very poorly. This stuff was so unruly to handle... anyone know of any good tips or tutorials on how to use this stuff? 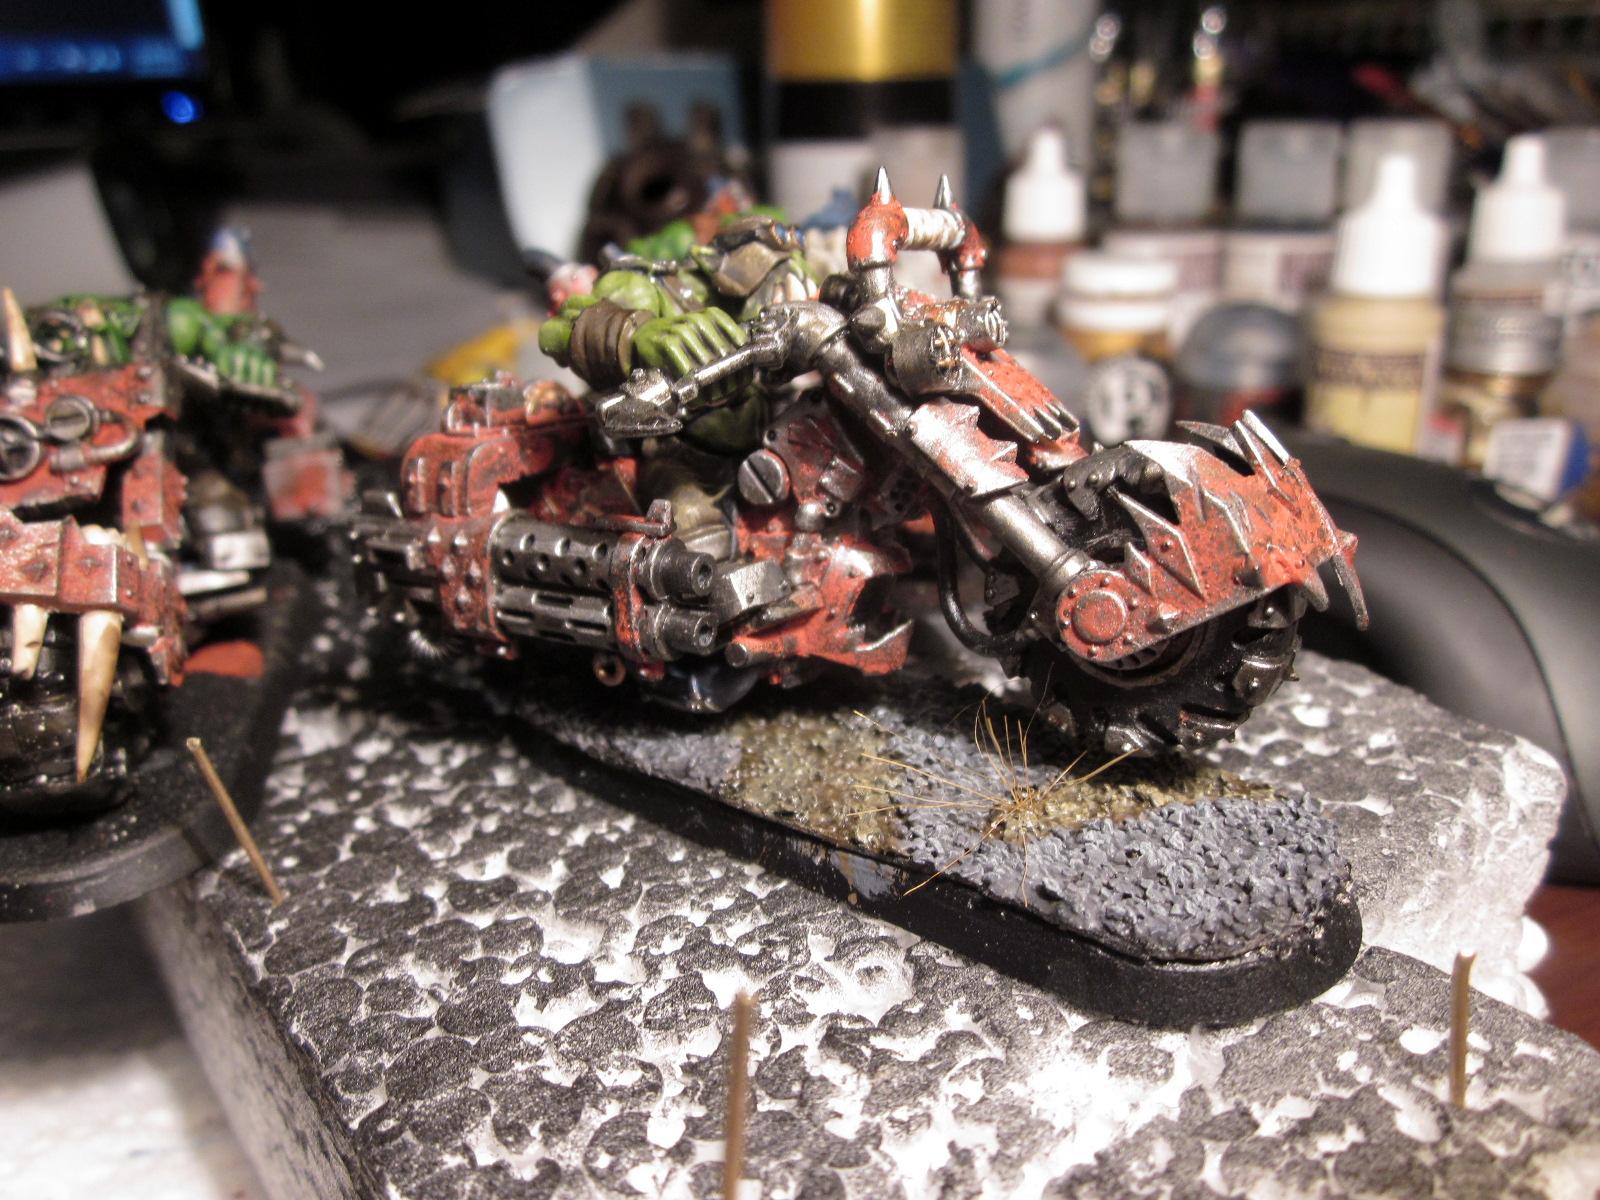 So here he is mounted. Not exactly what I was going for, but not too awful. I really need to learn how to use that grass better. Help! |
| neojarlaxe |  RE: Paint threat December 2013: Ork Warbikers RE: Paint threat December 2013: Ork Warbikers |
Member Since: June 23, 2013 RK: 1 MP: 0 | Wednesday December 25, 2013 3:41 AM Good work, I like theme. |
| Chris56Ryan |  RE: Paint threat December 2013: Ork Warbikers RE: Paint threat December 2013: Ork Warbikers |
Member Since: December 16, 2013 RK: 1 MP: 0 | Wednesday December 25, 2013 7:32 PM they are some good go fasta machines. |
| Sarge |  RE: Paint threat December 2013: Ork Warbikers RE: Paint threat December 2013: Ork Warbikers |
Member Since: May 10, 2013 RK: 1 MP: 0 | Thursday December 26, 2013 9:38 PM Are you using static grass? I usually just put down a layer of PVA then take a pinch of static grass on lay it on top. Give it a little snuggle, tap of the excess, and lastly blow on it to stand up the grass. For the longer stalks, I usually drill a hole, take a pinch of the long grass that will fit in the hole, apply glue to the grasses ends and place in the hole. As the glue dries, I move the grass around with tweezers until I get what I like. Once dried I cut some the stalks, so it doesn't look uniform. With either of these I will use earth tone washes and pigments to get rid of the fake sheen on them, and tie them into the ground work. Hope this helps. your base look good, by the way.  [[Edited by Sarge on Thursday December 26, 2013 9:39 PM]] Sarge "If you ain't CAV, you ain't!!" |
| TheGentleman81 |  RE: Paint threat December 2013: Ork Warbikers RE: Paint threat December 2013: Ork Warbikers |
Member Since: December 8, 2013 RK: 1 MP: 0 | Thursday December 26, 2013 10:23 PM 95% complete. I made a mud paste to try on a base. I like it so far, but I'll reserve final judgment until it's dry.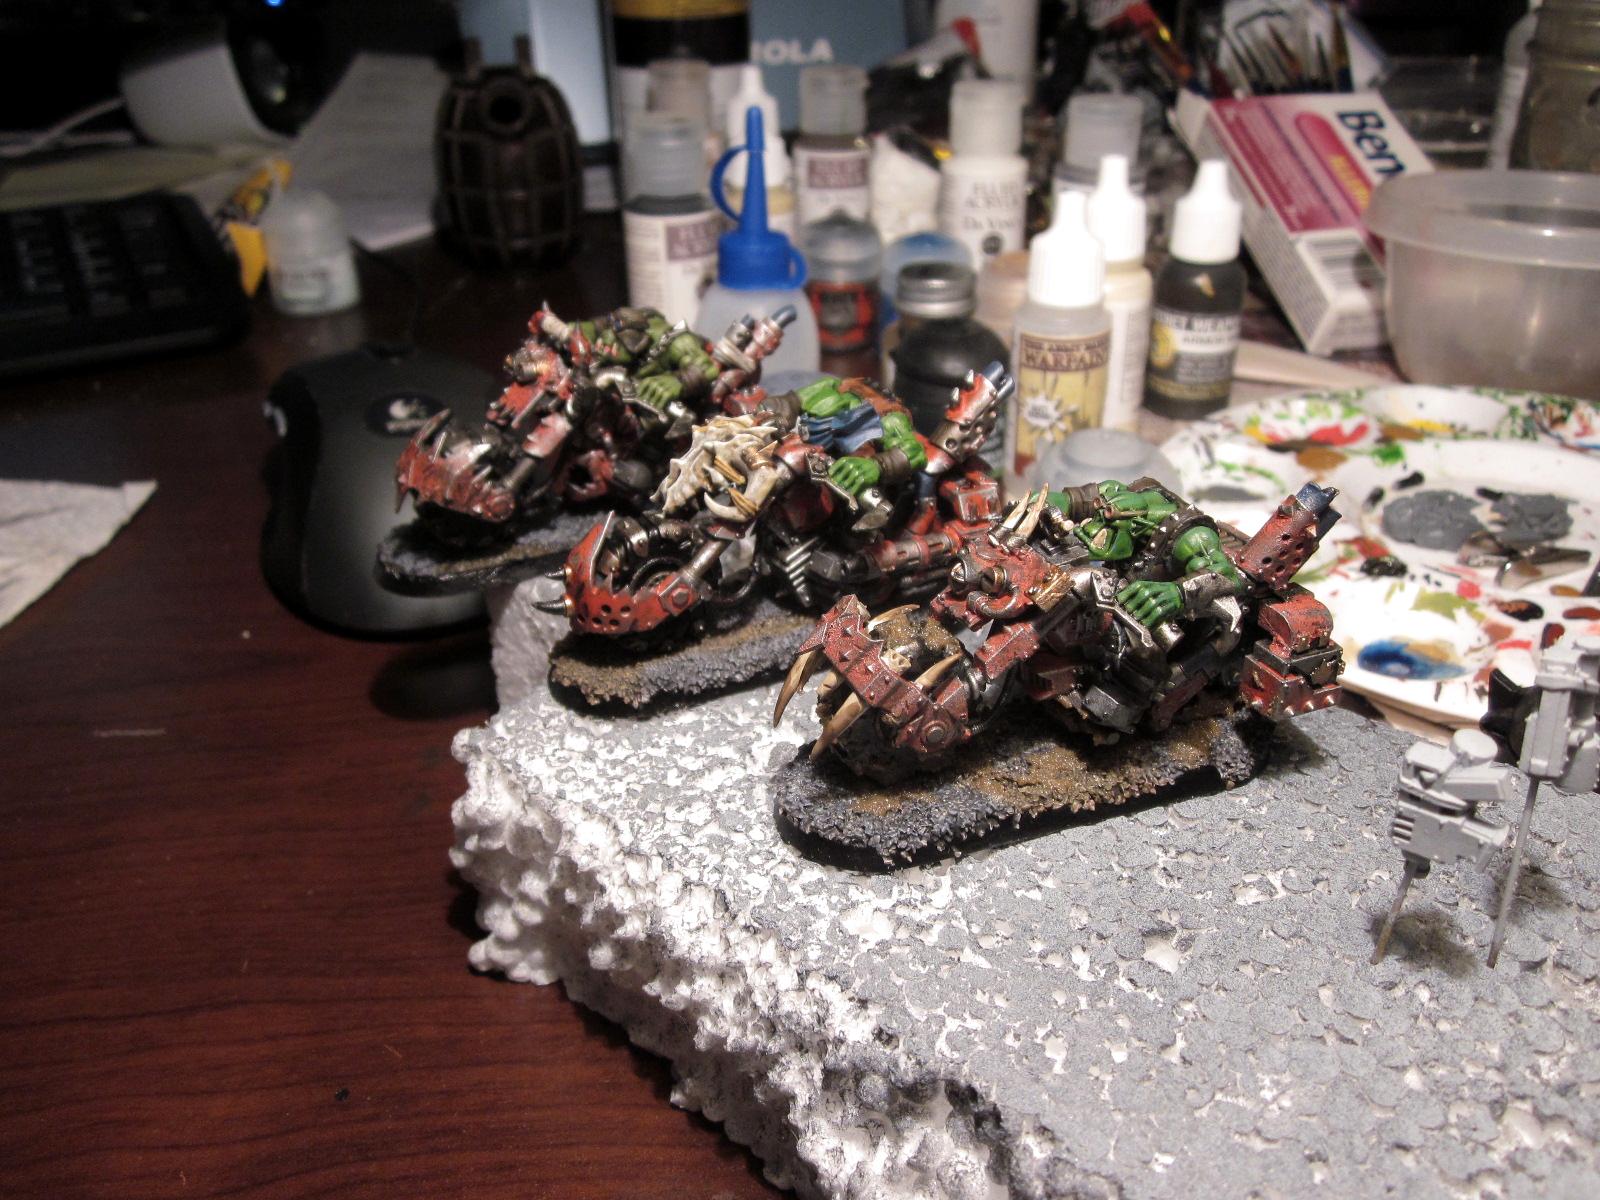 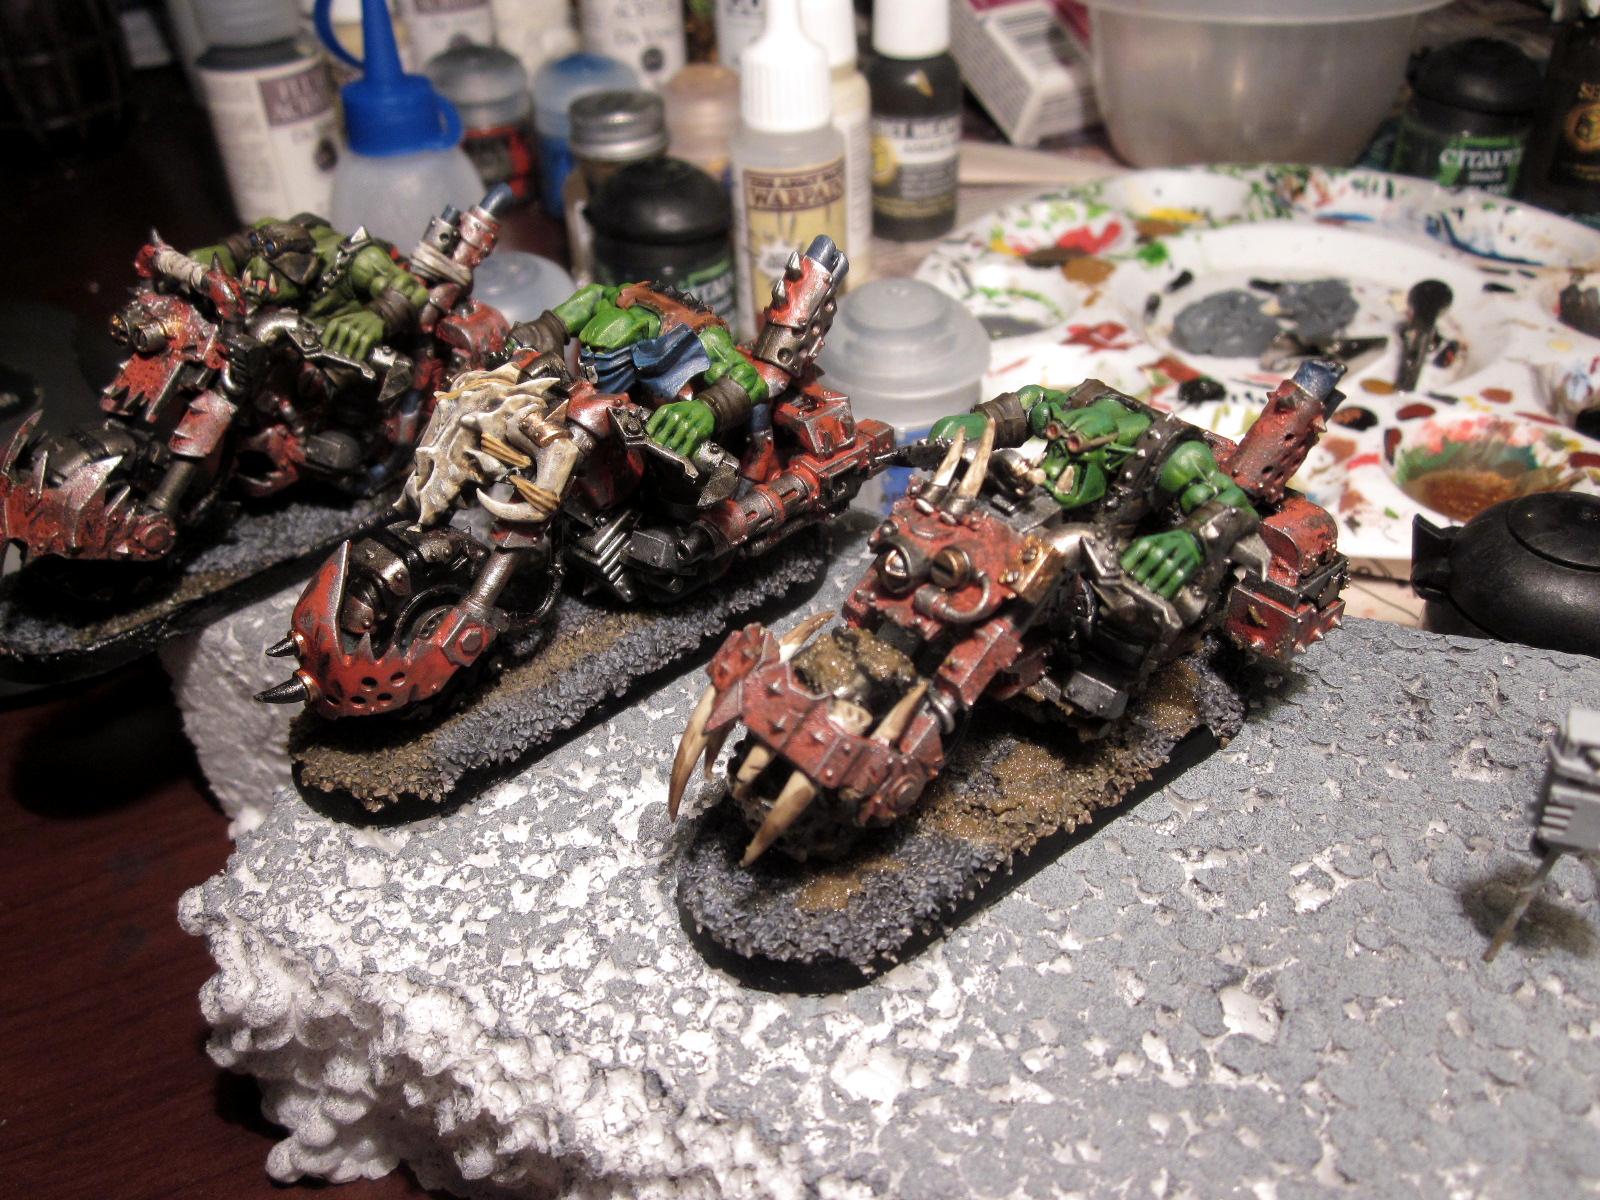 I think I'm going to add these weapons to the sides, Terminator style. 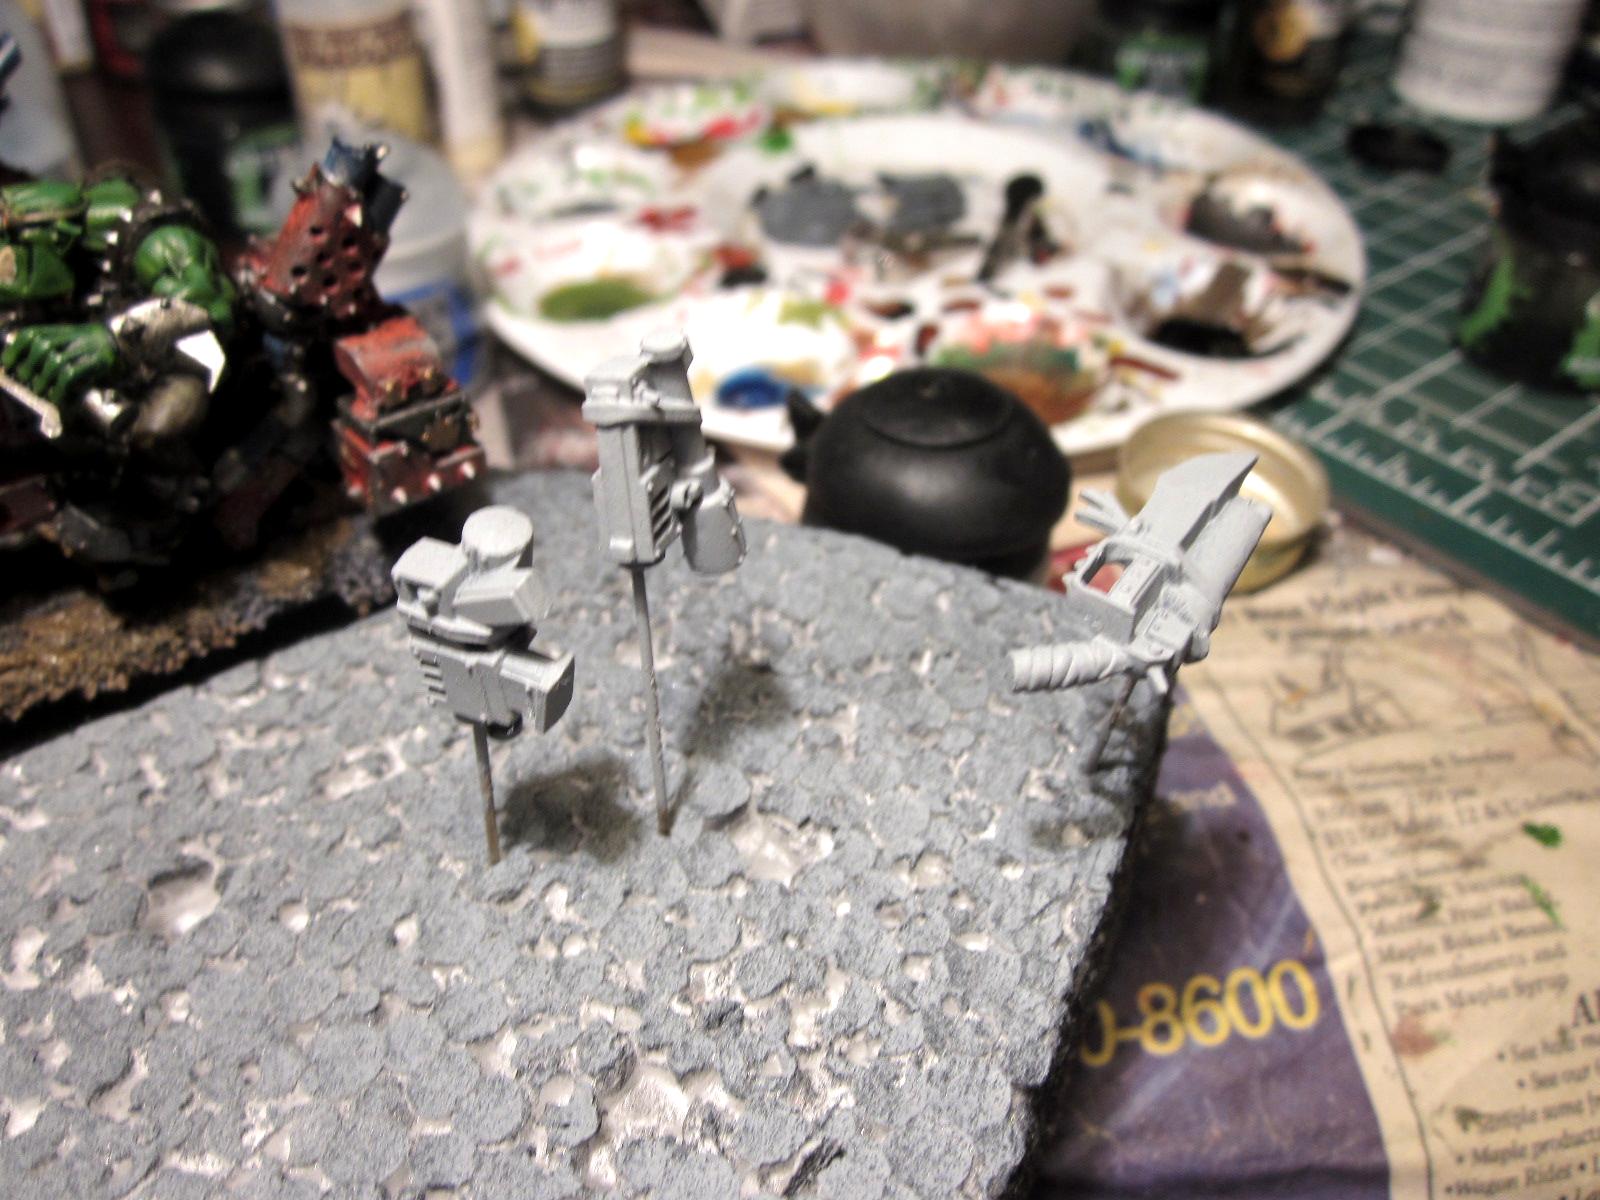 Sounds good, Sarge! Thanks for the tip! |
| Copperfrog |  RE: Paint threat December 2013: Ork Warbikers RE: Paint threat December 2013: Ork Warbikers |
Member Since: November 3, 2013 RK: 1 MP: 0 | Friday December 27, 2013 10:30 PM I'm going to have to look into this salt technique.This looks good |
| TheGentleman81 |  RE: Paint threat December 2013: Ork Warbikers RE: Paint threat December 2013: Ork Warbikers |
Member Since: December 8, 2013 RK: 1 MP: 0 | Monday December 30, 2013 8:32 AM I'd recommend looking on youTube for salt technique tutorials using an airbrush if you have one available. I don't have an airbrush, so I just thinned the paint down and painted it on carefully over the salt. First try I spent the time picking the salt off. Very time consuming. Second time I soaked it to make the salt dissolve. It worked somewhat... the salt dissolved from under the paint leaving some bubbles and wrinkles. I suggest trying both the hairspray and salting methods to see which one you like best. Just make sure you let the hairspray and paint layers dry (something I didn't really do). Good luck and have fun weathering! Looking forward to seeing how it works out for you. |
Listing 21 to 30 of 33 Replies | |